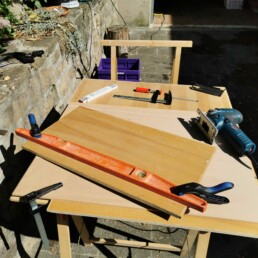
When I built my last pedalboard about 2,5 years ago, I already had in mind what pedalboard I would build next. I just didn’t have the money at that time. Now, the time has come and I’m working on my meant-to-be-the-last-one pedalboard build. I have already watched dozens of youtube videos, done further research, and I have figured out how to make it future-proof and portable.
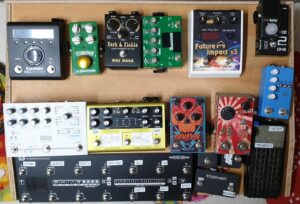
To find out the size of the case, I took all my pedals, plugged in some dummy connectors, drew some lines on a piece of wood, and began shifting the pedals around. At present, it looks like this:
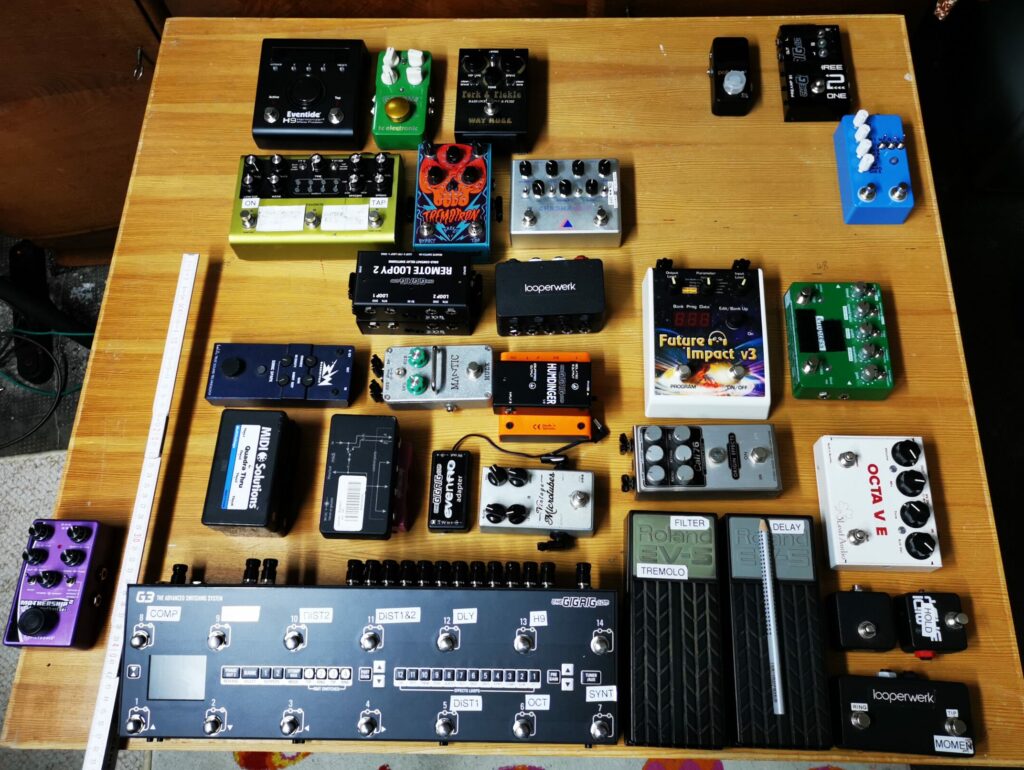
I used a method Mason Meringella (aka the rig doctor) shows in this video:
Taking note of the approximate dimensions, I did some research to see if there was a pedalboard case on the market with the appropriate measurements which would fit my needs.
Fortunately, I found one: A Schmidt Array 650 XDM.
Unfortunately, it did not fit my budget (as it costs about 1250€). Also, some extra modifications would have been necessary in order to fit the patchbays. I decided to build a case myself with the help of a friend of mine who is an excellent carpenter. I took the dimensions and started to draw a 3D model in shapr3D, an awesome app for iOS.
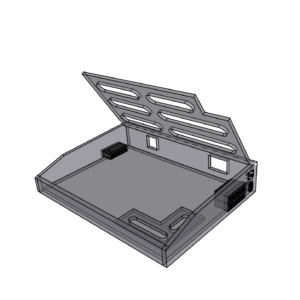
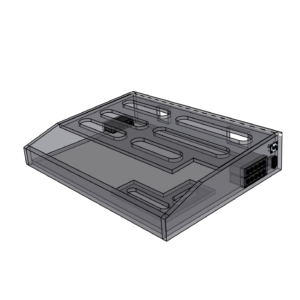
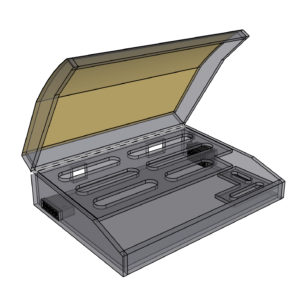
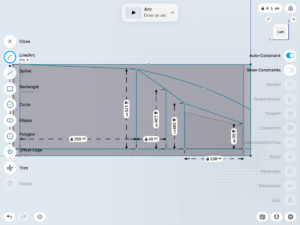
Having the measurements fixed, I built a prototype out of some old wood samples I had found in my mother’s basement. I put everything together and that model in itself was already quite satisfying.
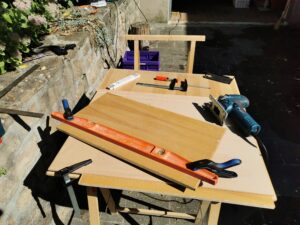
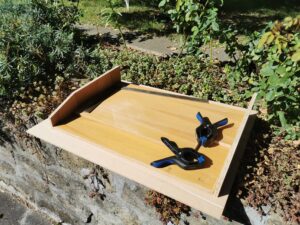
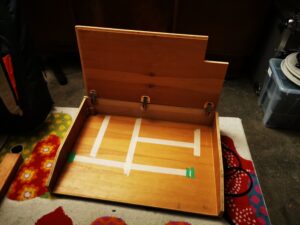
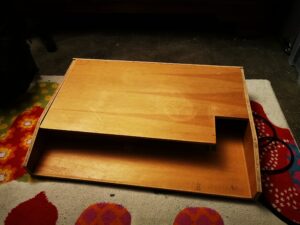
With a prototype in my hands, I could now play around with the placement of all the pedals. Doing so with a real model is a game-changer! I discovered some obstacles, found solutions, discovered more problems and solved them, etc… I think I found quite a good layout and solution. In another episode from this series, I will write about the criteria and thoughts which went into this construction process.
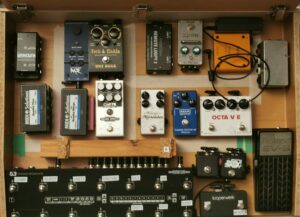
So far so good. Next Sunday, we actually begin to build the final pedalboard case! We’ll start by assembling a simple box, literally just four sides glued together. At least we will use real dovetail joints to make it stable.
After the glue will have done its magic, we will cut the box into two pieces during the following session. Doing so means that the lid will fit perfectly.
I hope you’ve enjoyed being part of the journey so far…… let me know if you have got any questions.
